The rule of KISS (keep it simple stupid) is one of the greatest bits of advice I have ever received in a kitchen. Most of the truly great dishes, or flavored things you put in you face, are so simple it beckons disbelief in most circles in our ‘glorified’ MasterChef communities. Cooking good food is easy peasy, lemon squeezy, its only tricky when we want it to be.
I have been slapping, palming and kneading pizza dough’s since 2004 when I commenced my apprenticeship at a little dozzie of place titled Blue café, and at many other eateries since. These layers of yeast, ground wheat, tomato and fermented cows milk helped me survive as a poor arse apprentice. I soon learned back then that good pizza was more about balancing the flavors on your crispy base, than stacking it up with copious amounts meat and vegetables. This is one of my top five flavor combinations on the planet!
Ingredients.
200ml Napoli
80g Mozzarella cheese
500g plain flour
10g table salt
10g caster sugar
13g dried yeast
300ml tempered water
15ml grape seed oil
chopped parsley and thyme
Apparatus.
Pizza stone
Pizza tray
Pizza paddle
Pizza cutter
Method.
Place your flour, sugar and yeast into a mixing bowl and stir through for fifteen seconds or so. Sprinkle over salt, then add your tempered water (roughly 25-30c, any higher than 55c and your yeast wont work) and oil into a well you have created in the middle of your flour mixture. Gradually knock the mixed flour into the water, until all the flour is incorporated and your dough resembles a stringy, sloppy and sludgy mess.
Get your pizza stone into the over and crank it to top temperature.
Now you need to knead the dough. Sprinkle a little flour over your clean bench, place the sludgy mess of a dough on top of your floured bench, then work the dough with the palms of your hands. Pressing into the center of the dough, folding it over, and repeat the process. The longer you repeat this process, the smoother the dough will be. You are essentially ensuring all the ingredients are combined and spread as evenly as possible through your desired product. Get your shoulders into it, give it a few slaps, and beat that dough, over and over, while folding it up after every press of your kneading palms, ready to be pressed again. If your lazy and do not want to exert any love and effort into your dough, then a mixer with a dough attachment will help out. One of the extra bonuses with working your dough by hand also is your shoulders and arms will gain tone and definition to match your sleeve tattoos that you got to look tough. Once you are happy that your dough is sufficiently combined, place the dough back into the bowl, cover with glad wrap, or something similar, to ensure a crusty layer does not form over the top while you wait for it to prove. Place the dough in a warm place and wait until it rises in size by two and a half times (about an hour is generally suffice, but could take up to two or three hours, dependent the starting water temperature and the room temperature).
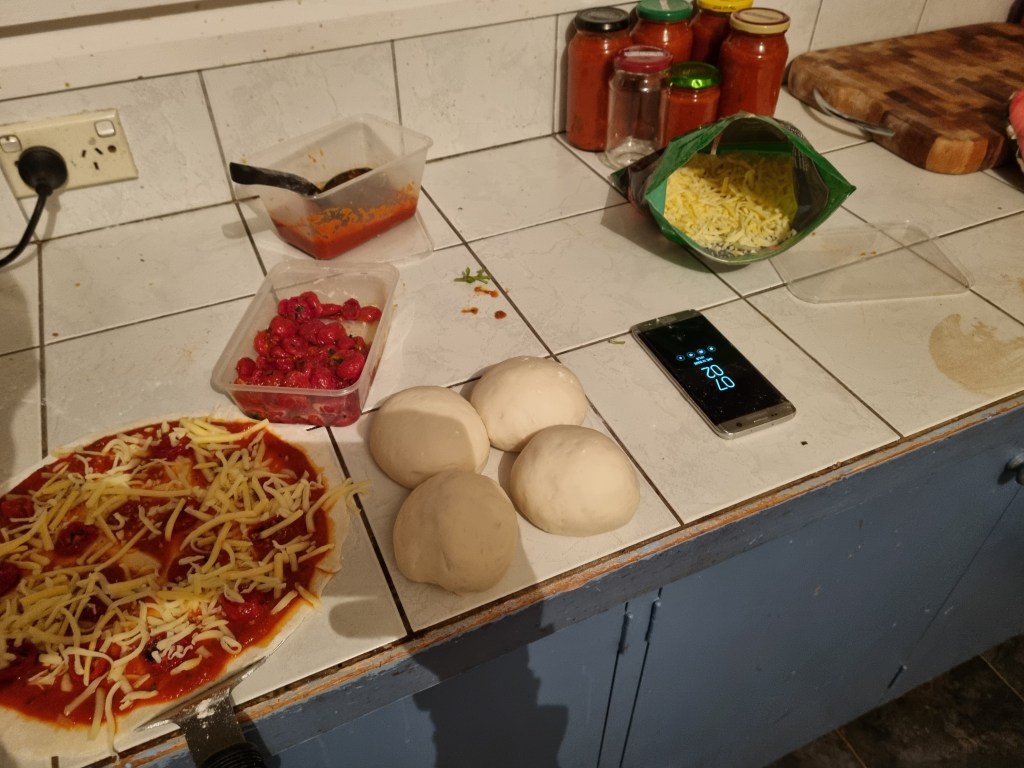
Now that your dough is nicely aerated, and your yeast is alive, creating combustible air pockets, place the dough back onto your kneading station and knead it a half a dozen more times, giving it a few slaps also if you fell the need. Portion the dough into 130g portions, then roll the portions into symmetrical balls, and allow to prove until they have doubled in size.
Ensure your oven in cranked to maximum temperature! During my home practice run for this article/recipe, I could only get mine to 250c of so, and the result was substantially of lesser quality compared to anywhere I have cooked wood fired pizzas. That is all good, as you are not going to have to worry about getting humiliated all over social media because you did not meet ‘Karen’s’ expectations when your making pizza at home, but generally 300c + is ideal to get maximum crispiness from your dough base before the cheese splits on top. In a Heston Blumenthal book I have at home titled ‘In search of total perfection’, he notes that one of the pizza places he checks out in his search for the perfect pizza runs their pizza oven at over 500c. I am not going to run into the immense details of the information provided in that book here, but getting your pizza oven hot enough is the key to a good pizza. I always used to stick my arm half way into any wood fired pizza oven, and if I could hold it there for more than a second or two, then the oven was not hot enough.
When your portioned doughs have proven to your desired size, grab your rolling pin, sprinkle a little flour on the bench, then proceed to roll your base. This method is hard explain in words, but my best analysis would be to start with rolling from the center of the dough ball, backwards and forwards a few times to achieve an oval shape. Then turn your dough 90 degrees, and repeat the process, making the dough round. Turn the dough again, roll into an oval shape, then turn once again and roll back to a ball. Repeat this process until your dough reaches the same size as your pizza tray.
Dust your pizza tray, gently pick your flattened dough up, and place it onto your pizza tray. Do not be rough with your dough either, putting holes in the base will let the toppings seep through and your pizza will get stuck to the base. If you put a hole in the base, roll it back into a ball and start over, don’t be lazy and try to stick the hole back together, or there will be tears!
Using a chef spoon, or a large cooking spoon that you have sitting in your large utensils bowl, place enough sauce into the center of the dough that you think will be enough to cover the base to roughly two to three millimeters deep, and to a centimeter from the edge of your pizza. Place your desired amount of garlic on top of your dollop of Napoli, then proceed to work the sauce and garlic gradually towards the edges of the base, allowing some breathing space between the sauce and the edge of the base. If you work it to close to the edges, then the sauce will run over the edges and it will stick to the base. Then you will be screaming like a little bitch when your trying to get the pizza off the tray or pizza stone, as the pizza rips and you splash hot, saucy cheese all over your precious fingers, stone and oven.
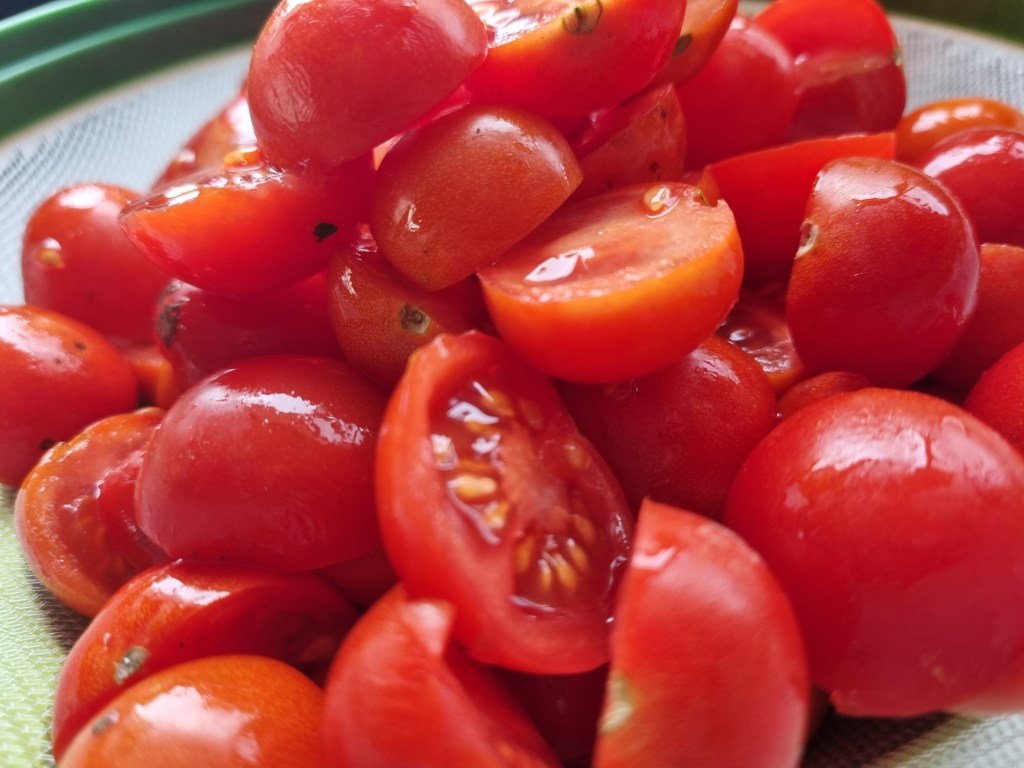
Lay out your slow roasted tomatoes evenly over the sauced base, sprinkle over your freshly chopped herbs, then sprinkle over your cheese. Please remember this is not your typical, dominos or three course meat on a piece of bread type pizza, this is a traditional pizza, essentially it is flavored bread. If you go all gangbusters and load this bad boy right up with cheese because you are a cheese fiend like me, then it will end in tears, as the base will not hold the weight. Just eat some of the cheese out of the bag like I do for your fermented cows milk fix like I do.
So you are ready to go, now open your oven, place your tray onto the hot stone, close the door and set your timer for 8 minutes, if your oven only goes to 250c like mine. If you can get the temperature higher, then set your timer to a lower setting.
Now check your base and you are looking for a slightly pale cream color starting to form on the edges of your pizza base. Give the base a subtle tap or flick so you can get a feel as to whether or not the base has started to crisp without hurting those precious finger tips. If you are confident the base has enough solid structure to withstand the removal of the pizza tray, then it is time to remove the tray and make direct contact between the base of your pizza and the pizza stone.
Using your sexiest pair of over mitts, gently hold the edge of the pizza tray on one side, slide you pizza paddle in from the opposite side, until half the pizza is on the paddle, slightly lift the pizza, remove the tray, then place your pizza directly on top of the stone. If your pizza is stuck to the tray because you did not keep a lip of clean dough on the edge of your pizza, then your an idiot. Have fun with that!
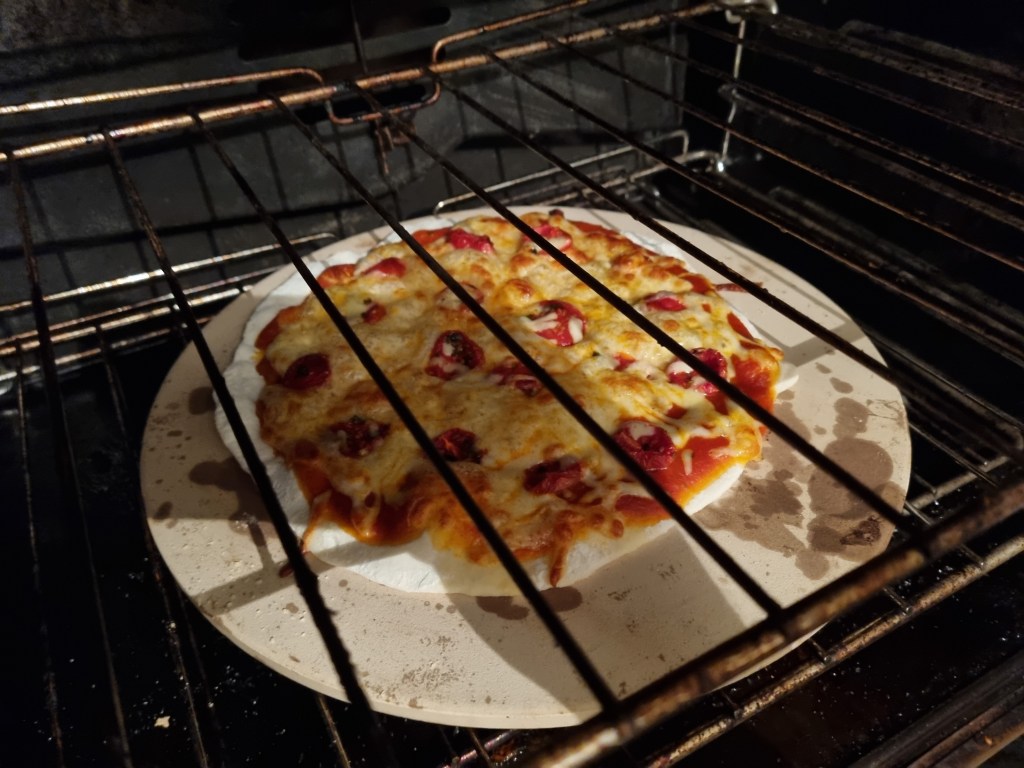
Set the timer again for eight minutes, and check to see the pizzas progress along the way. If your dough is spot on, you should be seeing massive boils appearing on your pizza. Pop those bad boys, as although they are good dough indicators, all your toppings will run down into pools on the base. When the pizza has golden, crispy dough edges, and golden crispy cheese on top, she’s ready to go. I don’t really need to tell you what to look for with the aforementioned consistencies here. You know what you want, so pull it out if you’re happy or set the timer accordingly. If a few of your house roasted tomatoes have gone a bit too far over to the dark side, simply remove them with a pair of tongs.
Place the pizza onto your rested pizza tray, cut it into however many pieces you like, season with a little salt and pepper, then smash it up as soon as it has chilled enough to do so.
Pizzas are truly a Pandora’s box when it comes to types of dough that you can use, while the potential topping combinations are limitless also. If you want to load up your toppings the Australian way, simply increase the thickness of your base by weighing bigger portions.

#Pro tip! Making doughs, or cooking most food even, is like being with a woman for mine. You need to be work it, kind of forcibly, but more coercively. She wants to, you want to, but nothing is going to happen if you don’t make an effort and put love and care into it. You need to stand your ground sometimes and force some things, but you don’t want to put holes in it. She can be a little stubborn sometimes, and sometimes she needs a little persuasion. Be respectful and show her love, and let here know she is your pizza base, then she will reward you.
Reference
-Heston Blumenthal, In search of total perfection, 2006.

2 thoughts on “KISS pizza.”